Polymer Clay Earrings for Beginners
Polymer clay earrings are lightweight, colourful and completely unique. You can make a pair in an afternoon with a few basic tools and your oven.
What you'll need
- Polymer clay in your chosen colours
- A clay roller (acrylic is ideal) and a smooth work surface such as a ceramic tile
- Clay cutters, or a craft knife and paper templates
- A needle tool or pin to make holes
- Earring hooks or studs, jump rings and two pairs of flat-nose pliers
- Fine sandpaper (optional) and baking paper
1. Condition the clay
Knead the clay in your hands until it's soft and pliable. This makes it stronger once baked and helps prevent cracks.
2. Roll it out
Roll to an even thickness, about 3 mm is a good start. Too thin and earrings can be fragile; too thick and they're heavy. Mix colours, add flecks or press in texture now if you want a pattern.
3. Cut your shapes
Press cutters firmly into the clay, or cut around a template. Arches, circles, teardrops and leaves are easy shapes to start with.
4. Make the holes
Use a needle tool to make a hole where each jump ring will go, not too close to the edge.
5. Bake
Place the pieces on a tile or baking paper and bake at the temperature and time on your clay packet. Brands differ, so always check. Good ventilation is sensible, and don't let the clay overheat or burn.
6. Finish and assemble
Once cool, sand any rough edges lightly. Open a jump ring sideways with two pliers (twisting, not pulling apart), link your clay piece to the earring hook, and close the ring.
Tips
- Wipe hands and tools between colours, especially when going from dark to light clay.
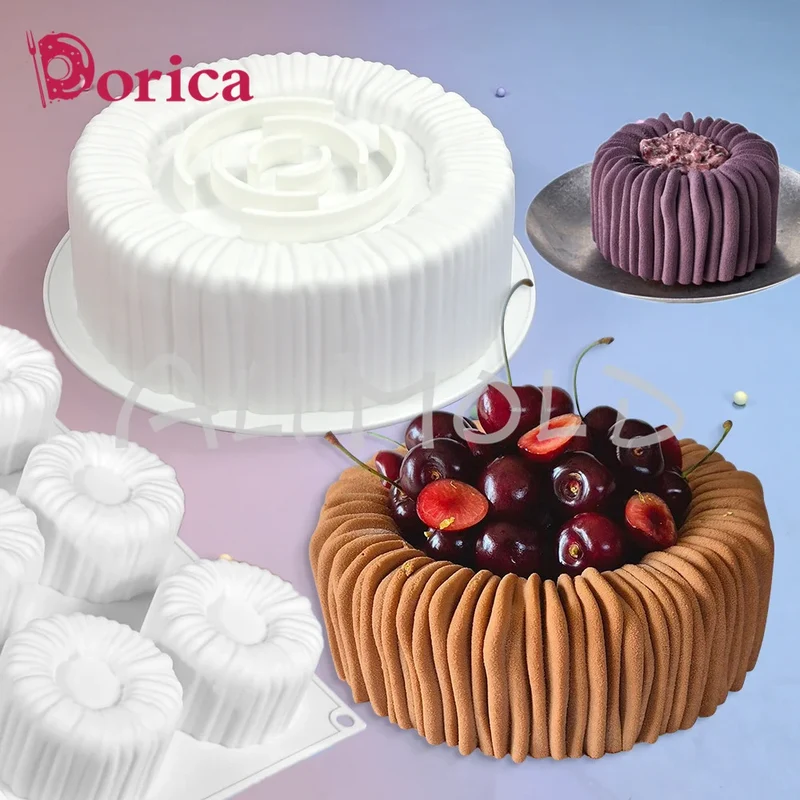
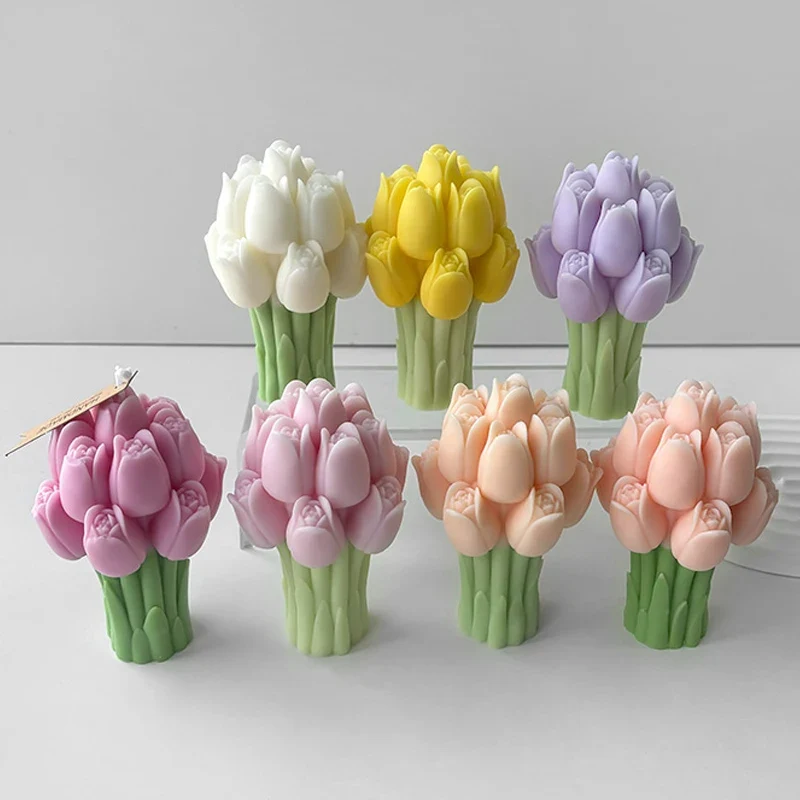
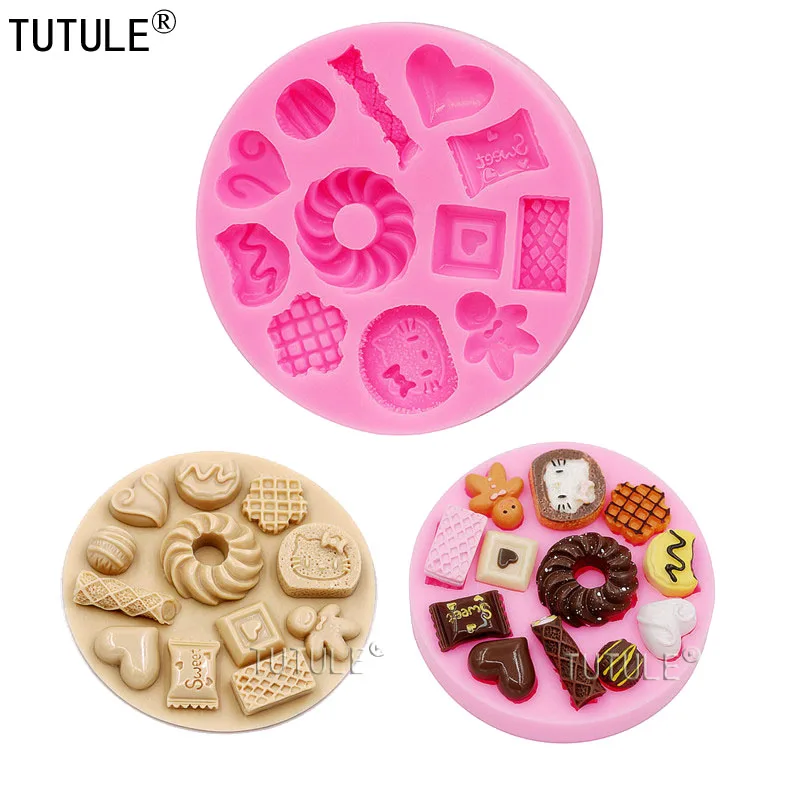
- Silicone moulds make it easy to create detailed shapes such as flowers and shells.
- A gloss glaze adds shine if you want it.
Find clay, rollers, moulds and tools in our clay and modelling range, and earring findings in jewellery making.