Watercolour for Beginners: 6 Simple Techniques to Try
Watercolour has a reputation for being tricky, but much of its beauty comes from letting the water do the work. Practise these six techniques on scrap paper and you'll be ready for your first painting.
What you'll need
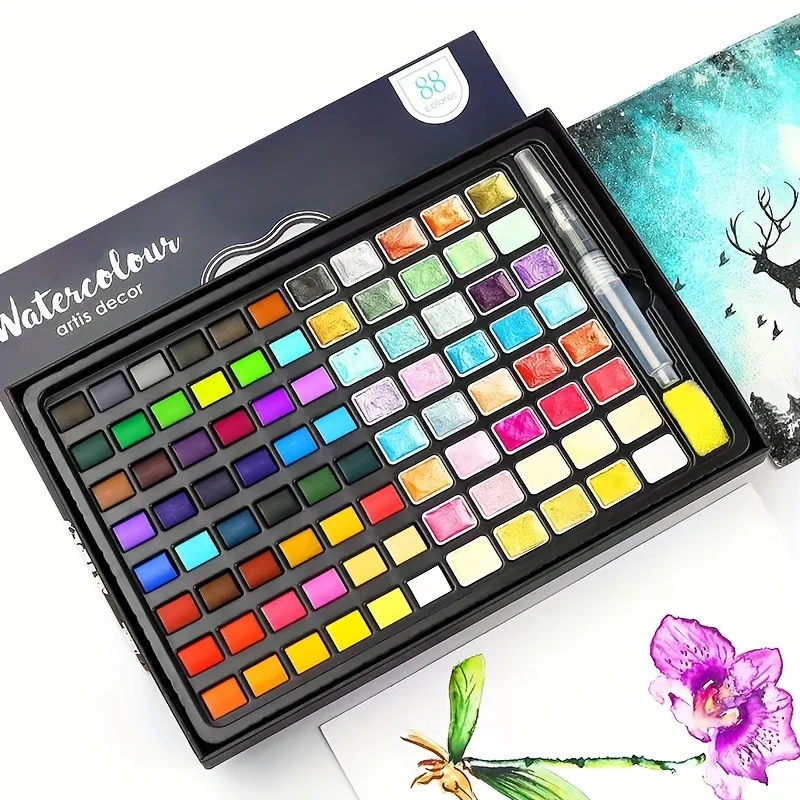
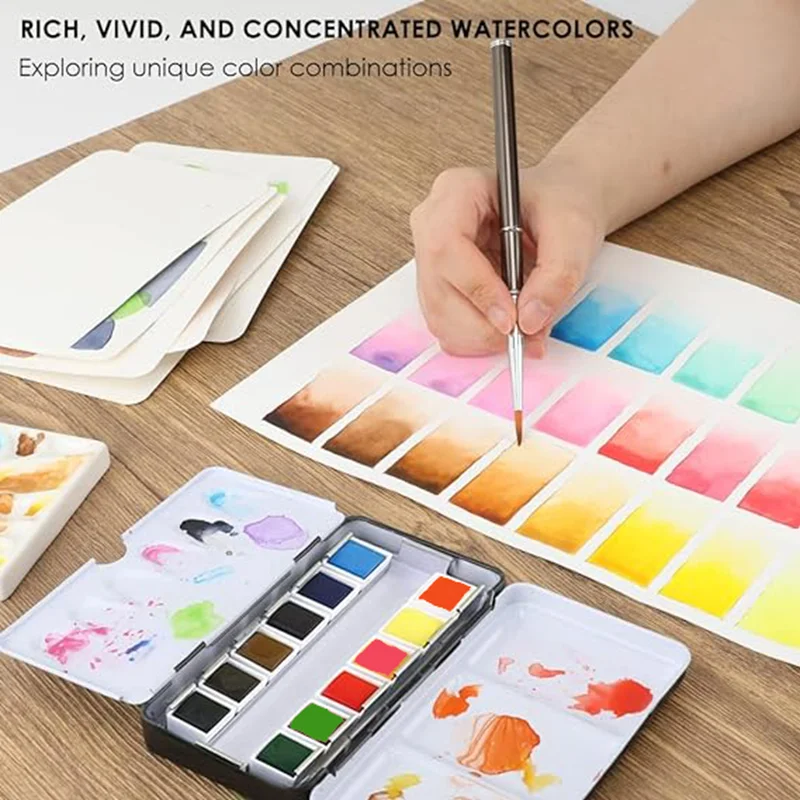
- A watercolour paint set
- A round brush (medium size) and a flat brush
- Watercolour paper. Thicker paper (300 gsm) buckles much less than ordinary paper
- Two jars of water (one for rinsing, one clean), kitchen roll and a palette
1. Flat wash
Mix plenty of one colour. Tilt your paper slightly and paint horizontal strokes from the top, each one slightly overlapping the wet bottom edge of the last. You'll get an even area of colour, the basis of skies and backgrounds.
2. Graded wash
As above, but add a little more water to your brush with each stroke so the colour fades from strong to pale. Perfect for sunsets.
3. Wet-on-wet
Brush clean water onto the paper, then drop in colour. It blooms and spreads softly. Drop in a second colour and watch them blend. Lovely for skies, flowers and abstract backgrounds.
4. Wet-on-dry
Paint onto dry paper for crisp, controlled edges. Use this for details once earlier layers are dry.
5. Lifting
While paint is still damp, dab it with a clean, damp brush or kitchen roll to lift colour off. It's great for clouds and highlights.
6. Salt texture
Sprinkle a little table salt onto a wet wash and leave it to dry completely, then brush the salt away. You'll get starry, crystal-like patterns, brilliant for night skies and snow.
Tips
- Work light to dark: you can always add colour, but it's hard to take it away.
- Let each layer dry before adding detail on top.
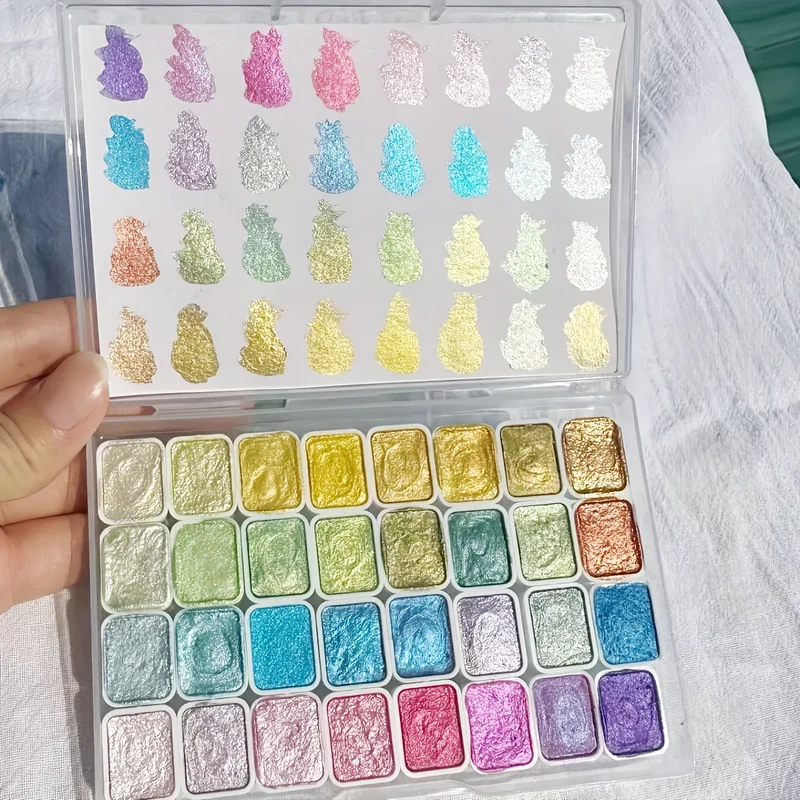
- Metallic and iridescent watercolours add a magical shimmer once you're comfortable with the basics.
Look after your brushes with our tips on caring for paint brushes, and browse our paint sets.